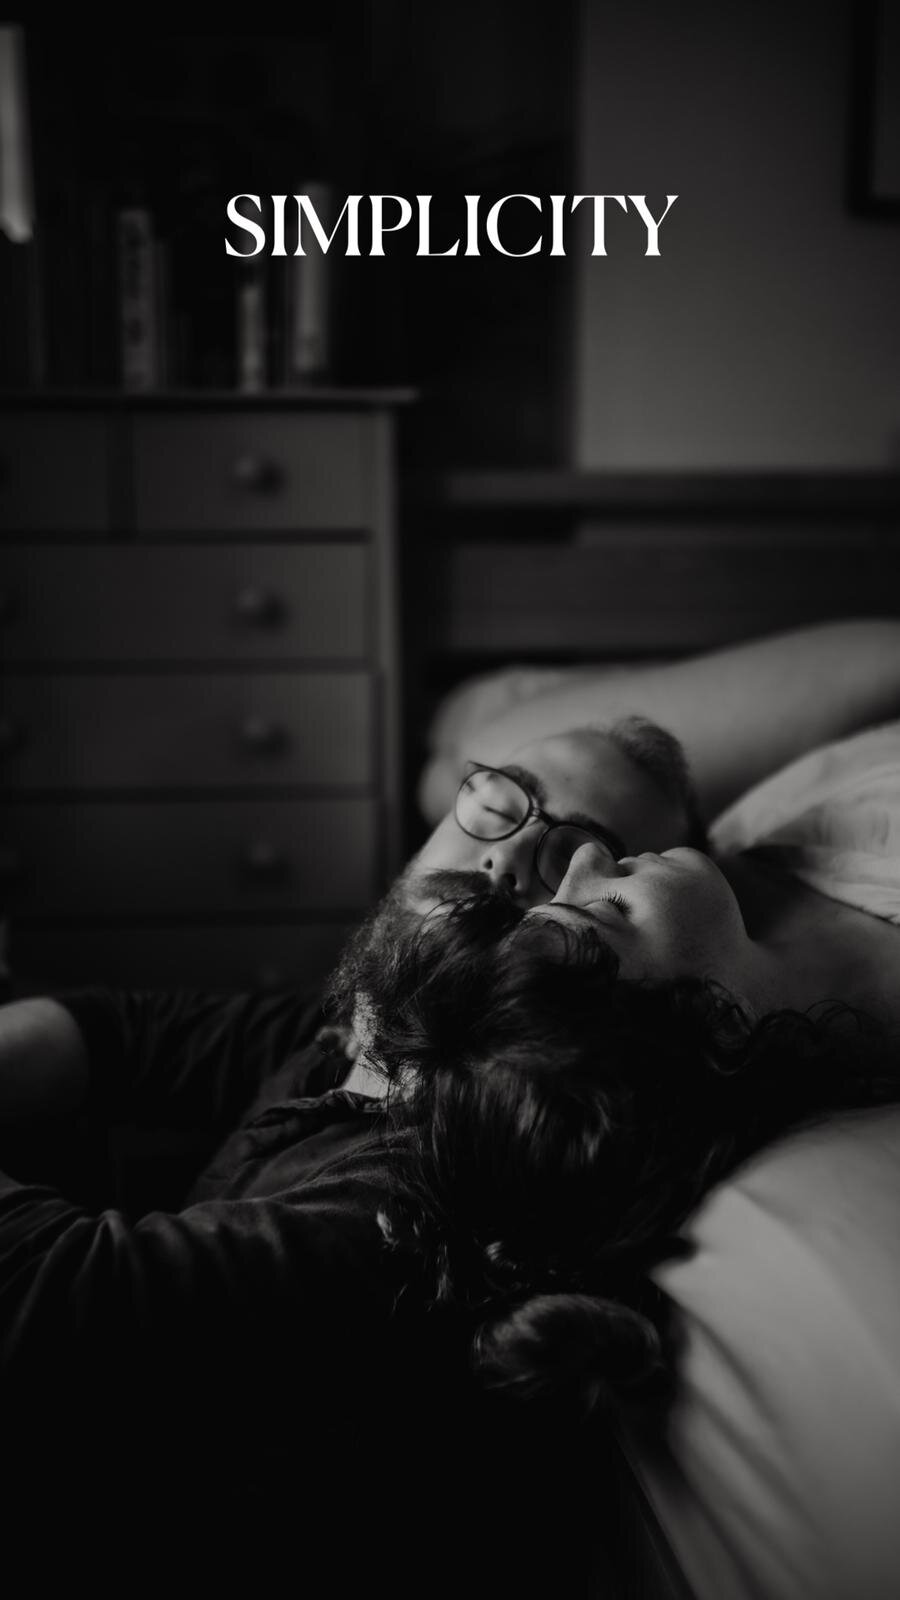
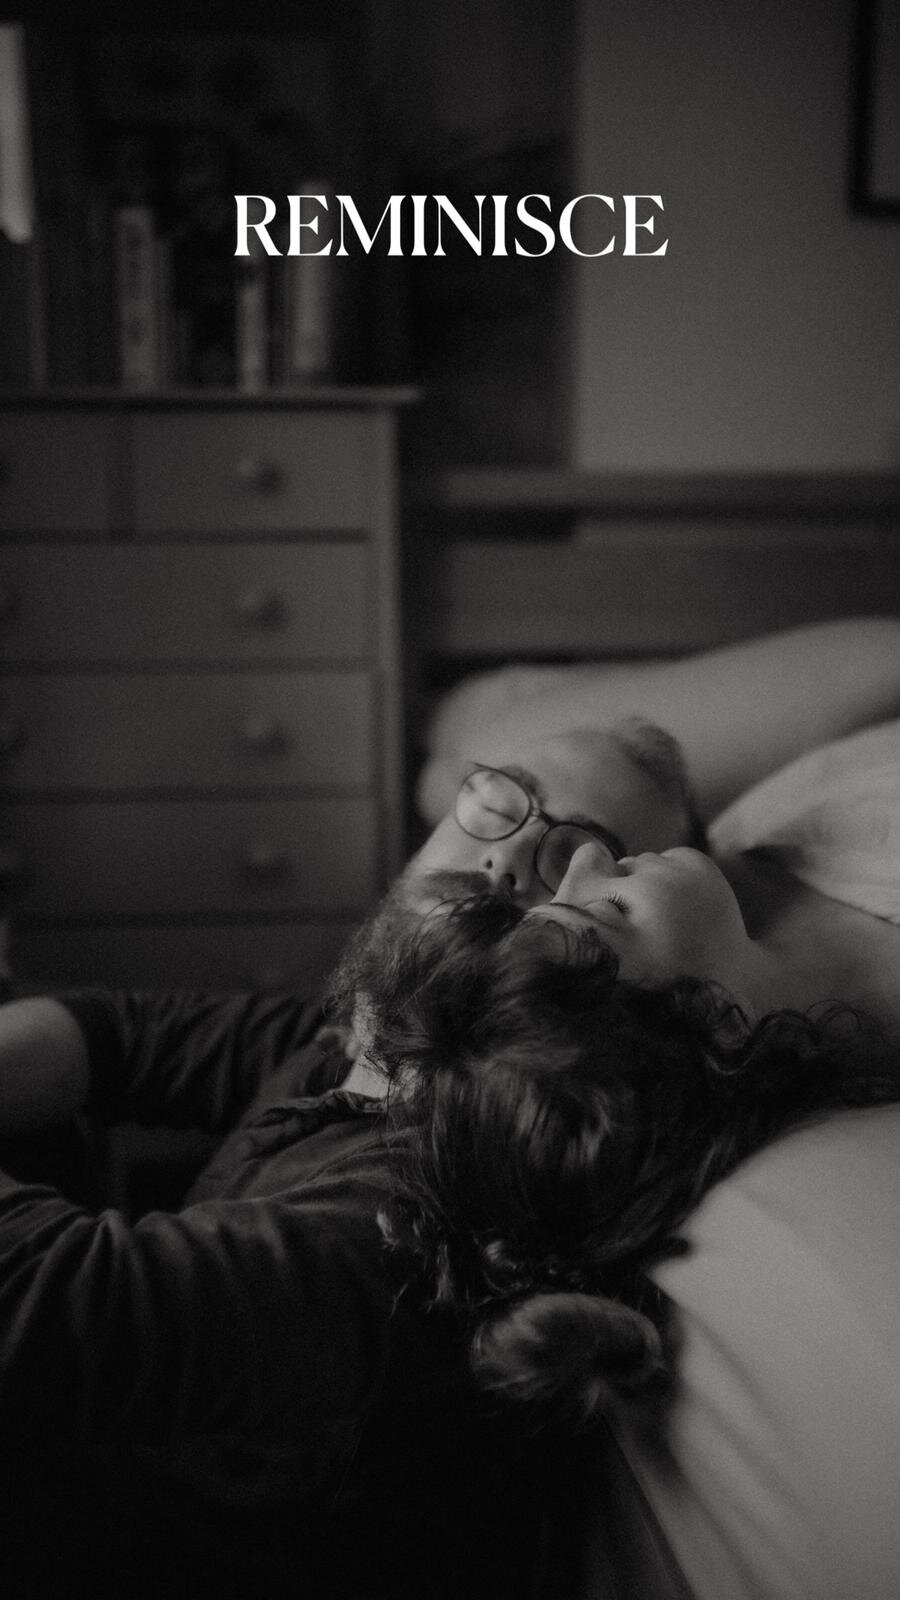
The Ultimate Guide to Shooting Dark & Moody Intimate Imagery
It’s no secret that I’m a huge lover of deep, intimate imagery and proudly an industry leader in the dark and moody movement. I believe in the raw power of darkness within imagery (and life!) and how so much can be found if we delve deep into it. As a photographer, I’m always searching for pockets of light and types of light that harness creativity and storytelling.
For me, I find the more I have to focus my attention into an image, the deeper the meaning and I tend to find that more storytelling elements come out of it.
The Technical Side
My current (most used) equipment is:
Canon R5 Mirrorless
Sigma Art 35mm
And I use my own presets that I’ve created specifically for dark and moody lovers, like me and you can find them HERE
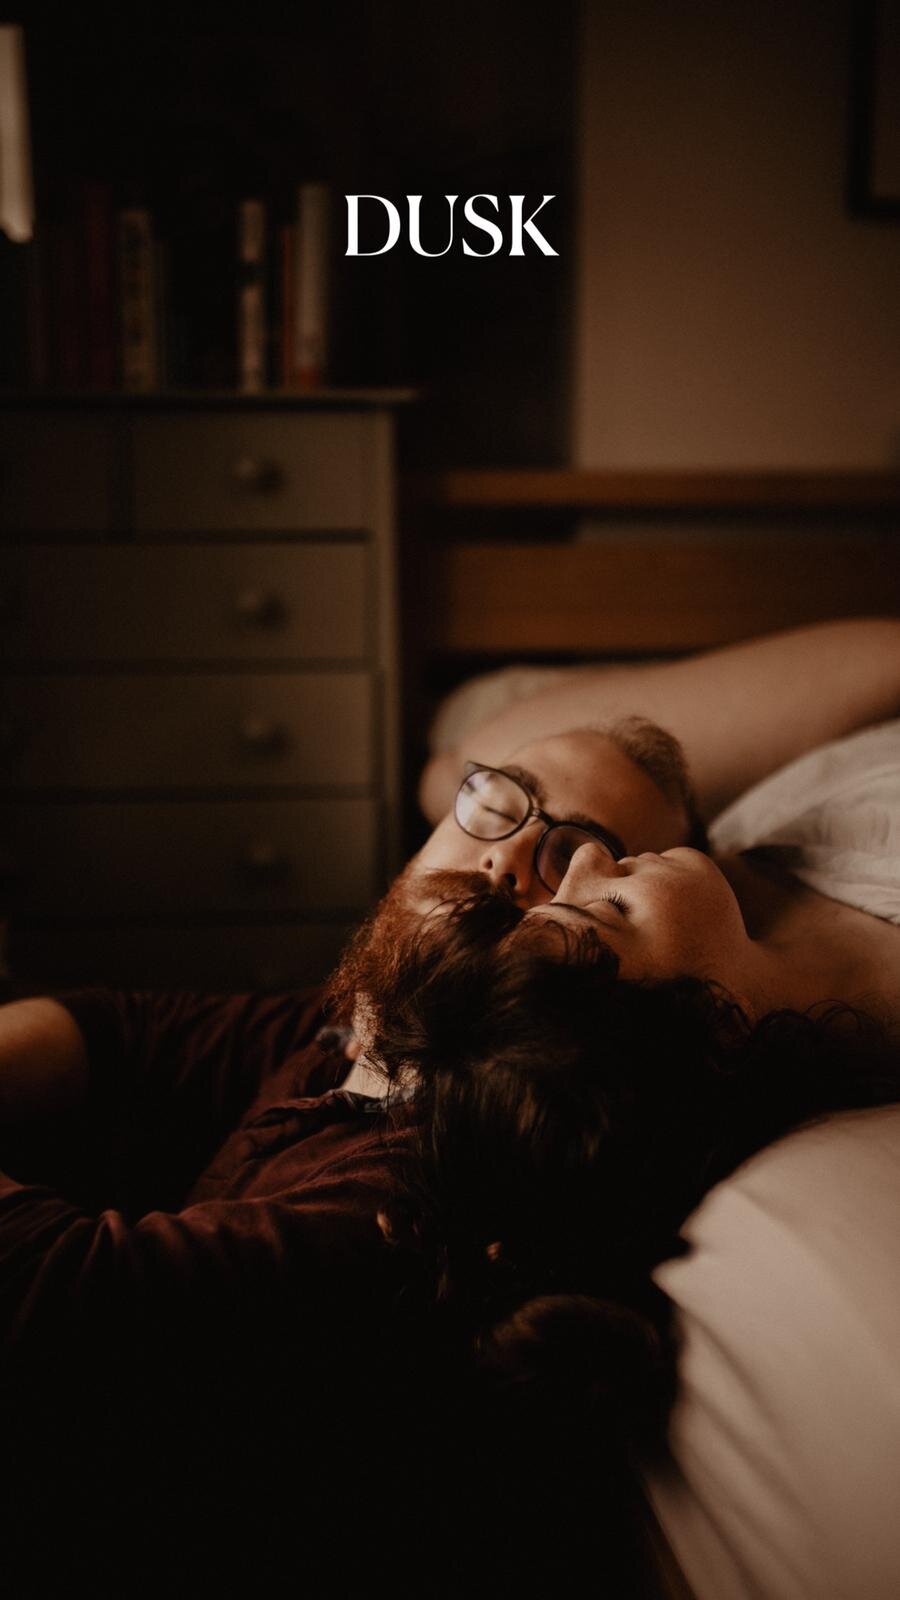
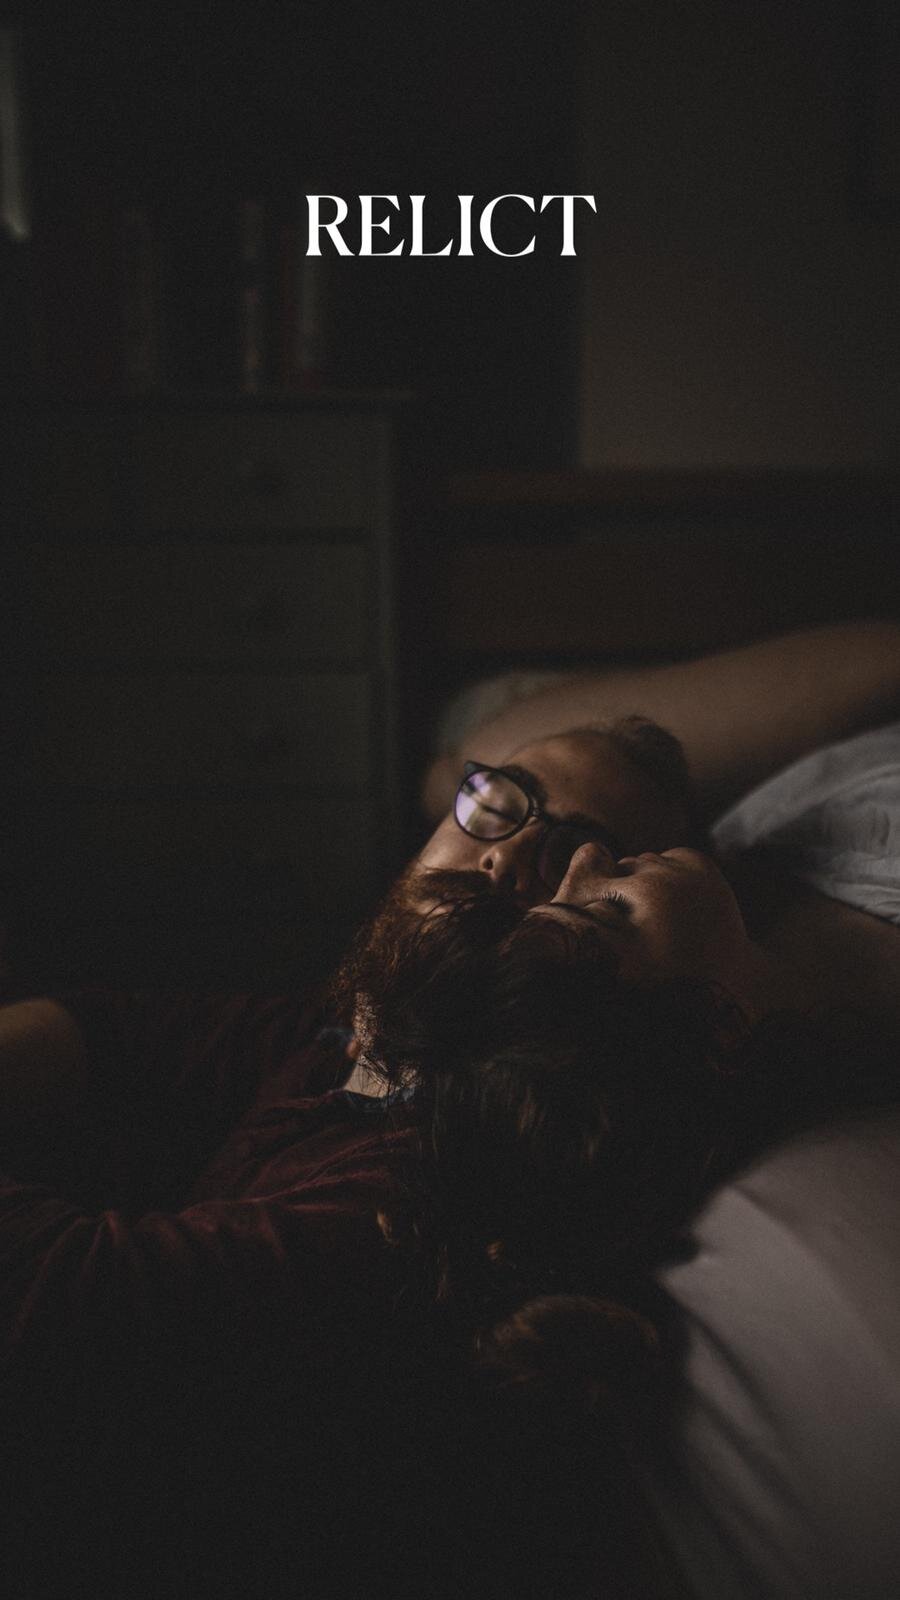
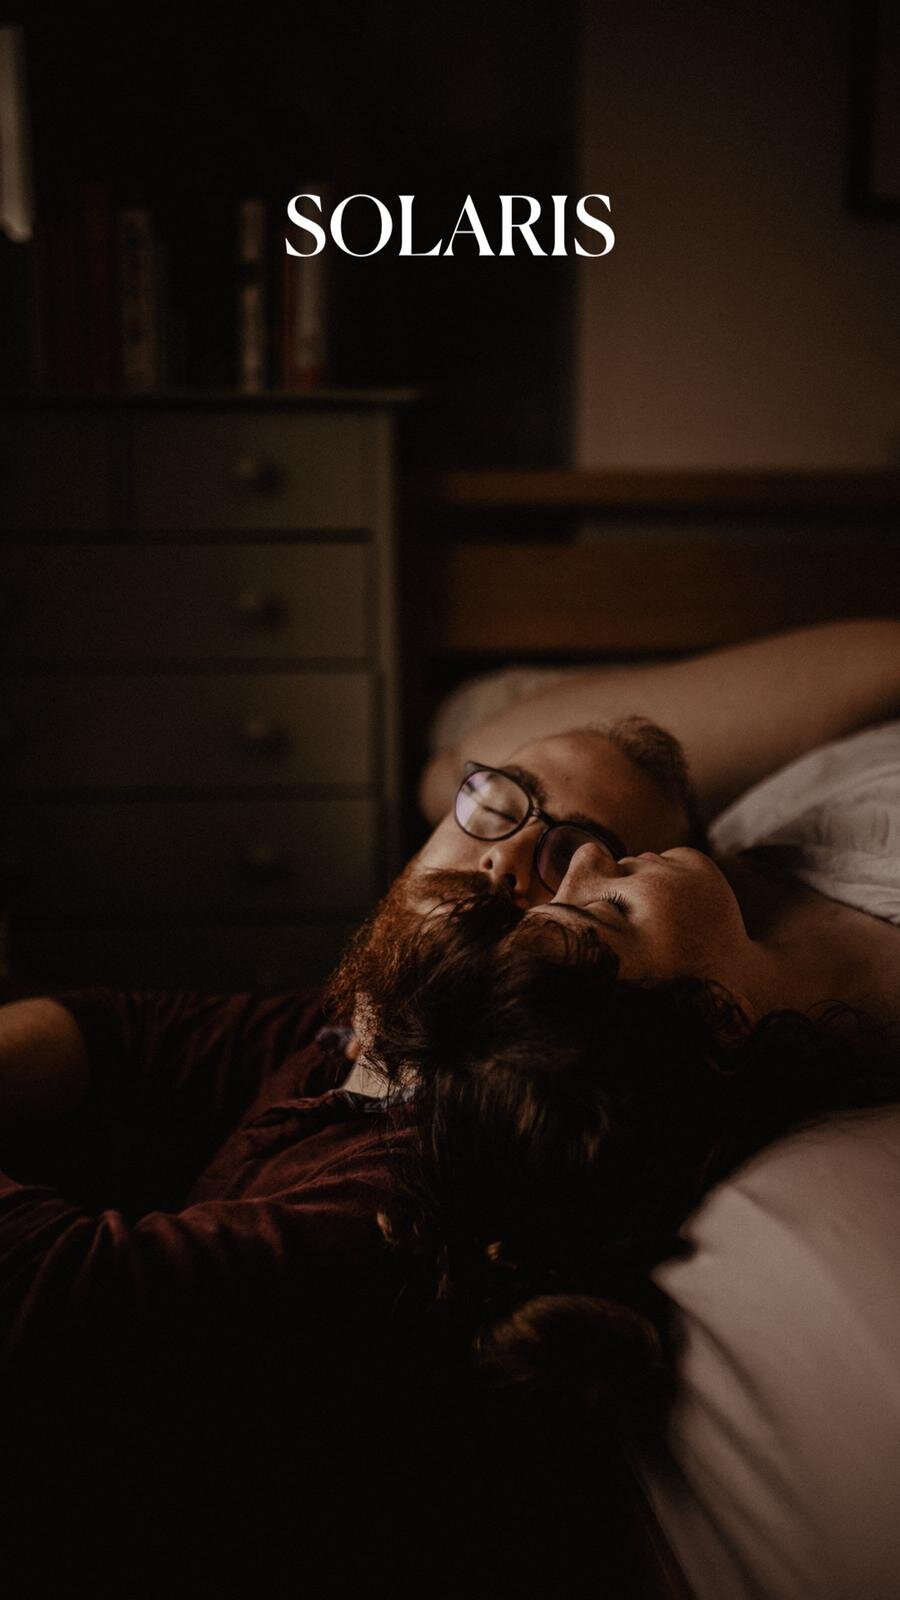
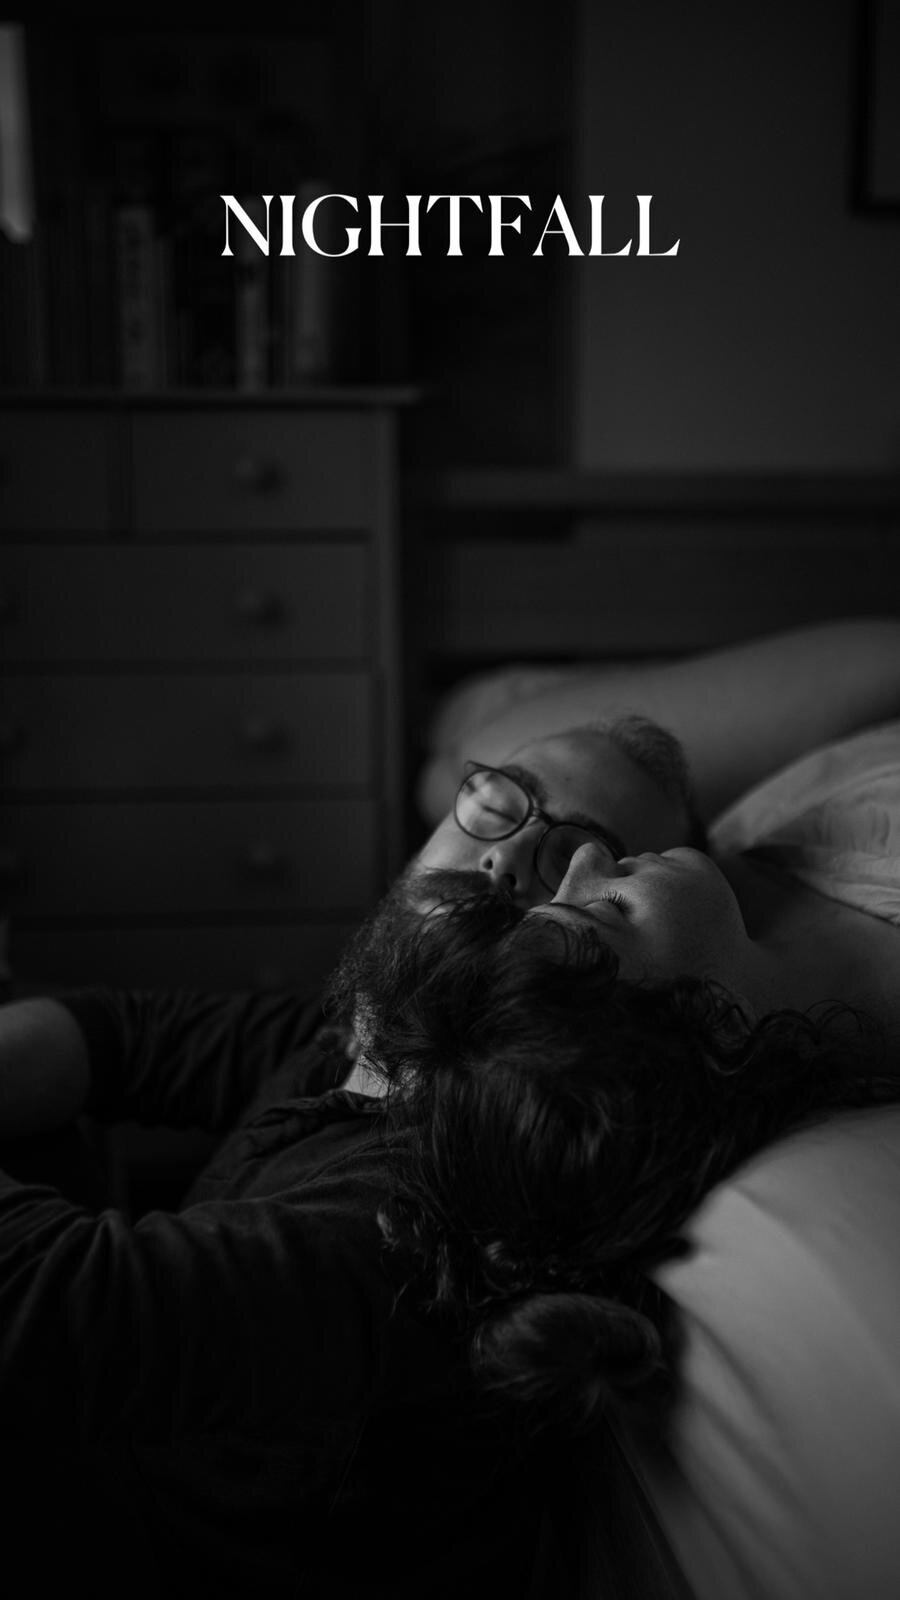
Below you’ll find the presets on the same image so you can see the difference.
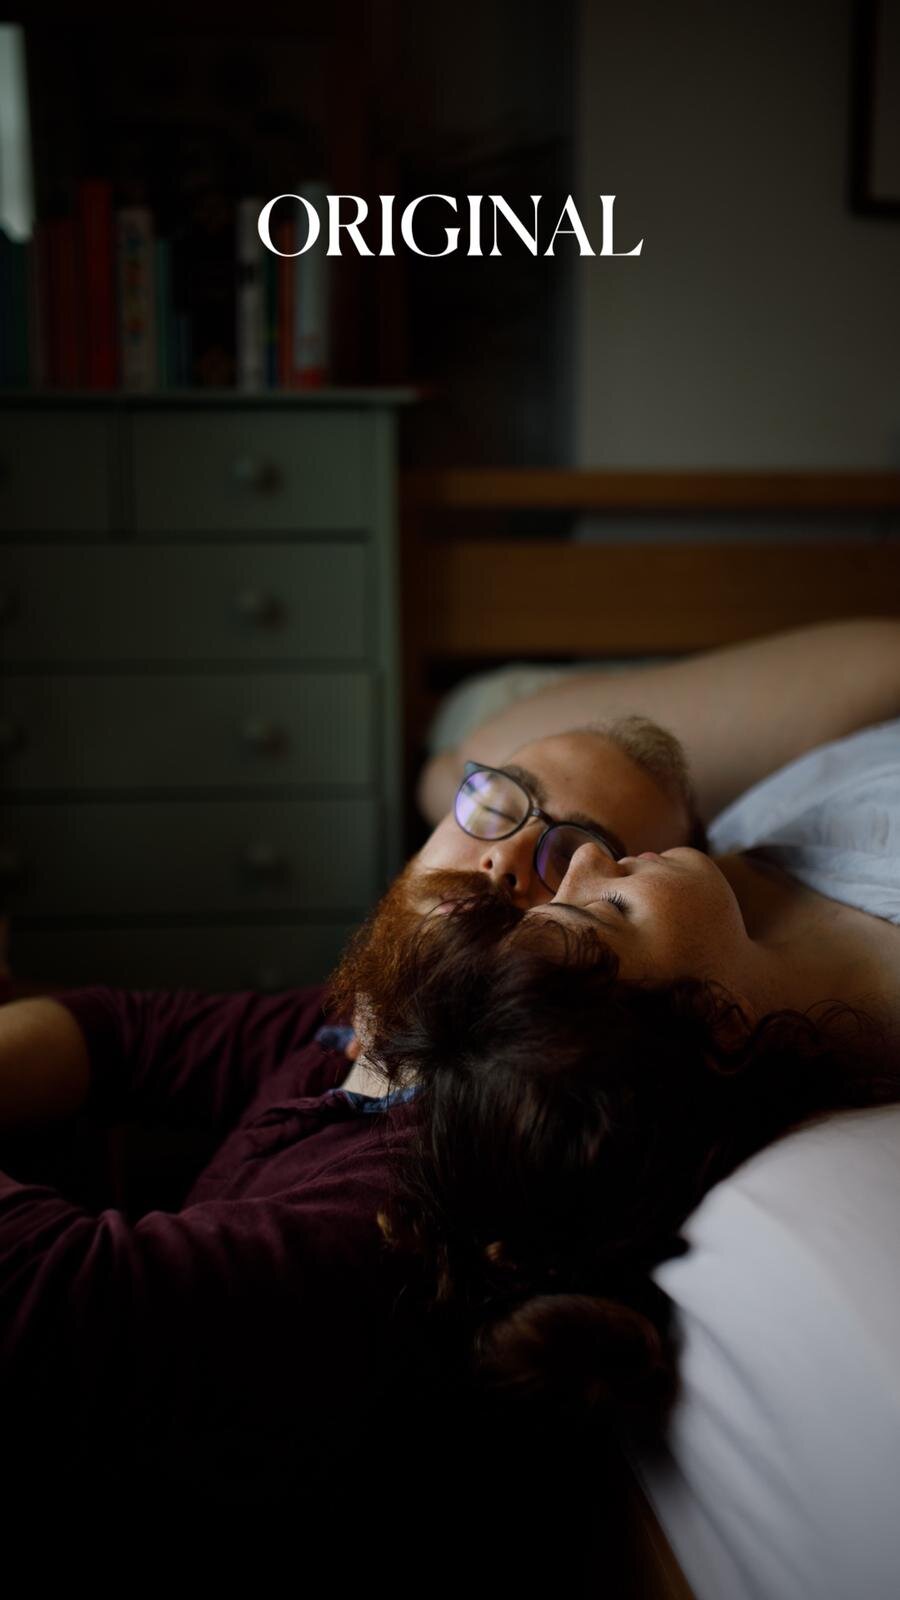
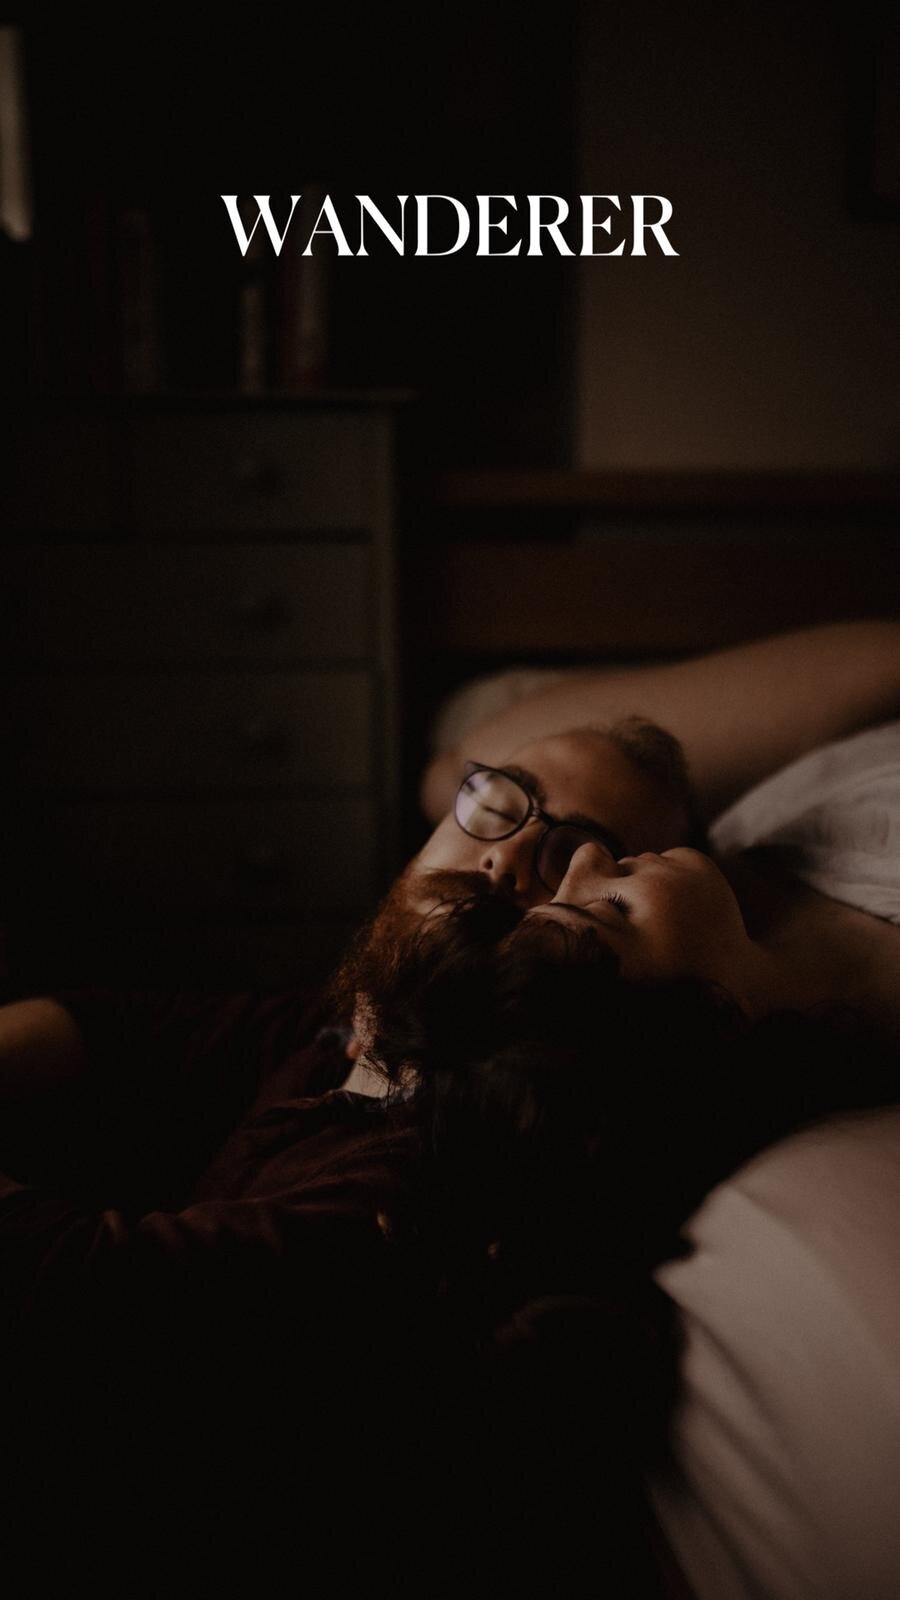

This image was taken using:
ISO 100
f/2.0
Canon 5D IV and Sigma Art 35mm f/1.4 using the Canon Connect App.
My Camera Settings
To achieve the dark and moody look, I start with the Manual settings of my camera.
I tend to keep my settings at roughly:
ISO 100
f/1.4
And shutter speed as fast as possible for the light unless I’m being creative with motion blur, then I would decrease it, leaving the shutter open for longer.
Rule of thumb is:
If you change one aspect (ISO, Aperture, Shutter Speed), you’ll almost always need to change another.

How I Achieve My Style
If you look at my Instagram @hannahbphotographyuk you’ll see that overwhelming majority of the images have been taken with the 35mm and almost always at f1.4 (except for larger groups of people or if I specifically want more in focus). I’ve practiced so hard to hone in on my niche and style through the way I take my images. This is important.
My images could differ in colour or creative vision, but it’s obvious that the images are still mine, even if they look different on the surface because of the WAY I take my images.
My style starts with the way I frame my subjects, the composition, the light, the mood, and the way I shoot technically.
Manual will give you so much more creative freedom.
I repeat.
Manual will give you so much more creative freedom.
A handy tip for dark and moody imagery in manual:
The arrow on your light meter, should roughly stay around 0 however, as a dark and moody photographer, I tend to have my arrow just below 0 to achieve the look I’m aiming for.
If you go above 0, more light is being let in meaning the image will be brighter.

If it’s not obvious by now, I’m super keen on dark and moody imagery. It’s also quite funny because I wear a lot of bright clothes, very energetic and love a good frolic in the sea, but that’s not always what you’d imagine the photographer who takes dark imagery to be like. But here we are.
If you’d like to know more about how I take my images, my style, and tips and tricks (business and photography!), head on over to my Instagram page where I upload weekly reels (sometimes daily because I have no self restraint) and informative posts.
Come join the dark and moody movement and learn to edit like me using HBP The Recollection Preset Pack - if you’d like to see the work of artists worldwide using HBP Presets, head to the preset Instagram @hbppresets where you can be featured too!
We’d love to have you!
All my love and kindness,